One of the most diverse continents in the World. From the heights of Toubkal and Kilimanjaro to the sprawling savannas of South Africa. View All Countries
A tapestry of ancient wonders and modern marvels, filled with cultural convergences with warm hospitality and a spectacular diverse landscape. View All Countries
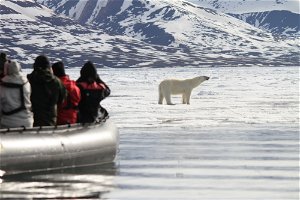
Frozen wonders unfold in the polar regions with pristine landscapes, majestic wildlife, ethereal aurora. A surreal realm awaiting intrepid explorers. View All Countries